tl;dr Don't run ffmpeg over HTTP(S) and use ffmpegthumbnailer
UPDATE tl;dr Download the file then run ffmpeg with -ss HH:MM:SS first. Don't bother with ffmpegthumbnailer
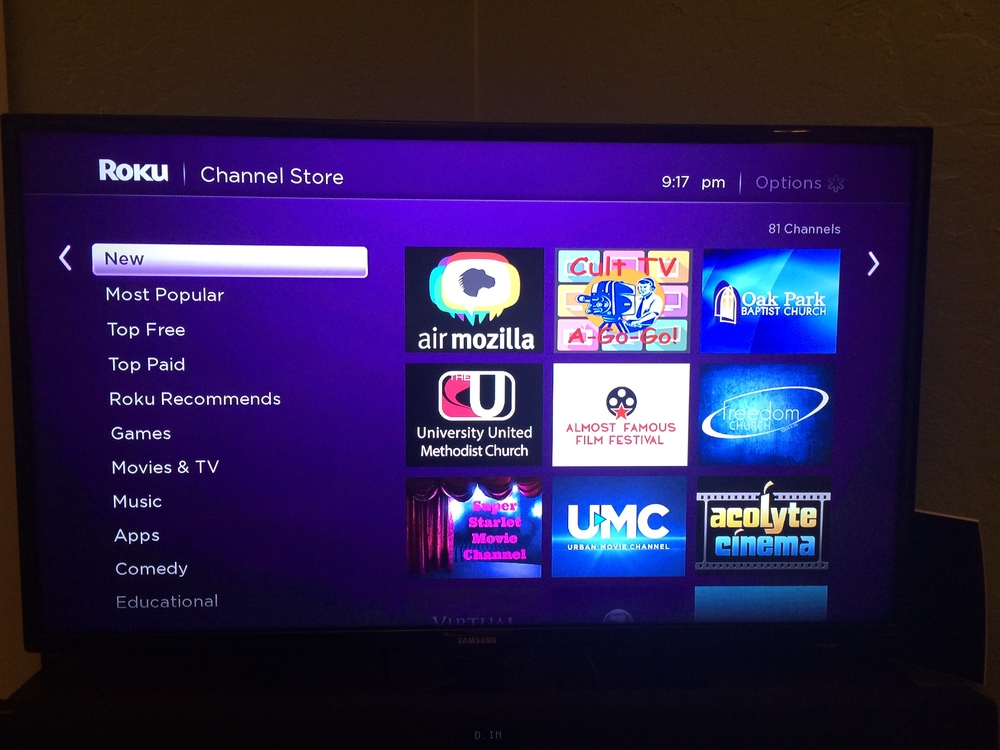
At work I work on something called Air Mozilla. It's a site for hosting live video broadcasts and then archiving those so they can be retrieved later.
Unlike sites like YouTube we can't take a screencap from the video because many videos are future (aka. "upcoming") videos so instead we use a little placeholder thumbnail (for example, the Rust logo).
However, once it has been recorded we want to switch from the logo to an actual screen capture from the video itself. We set up a cronjob that uses ffmpeg to extract these as JPGs and then the users can go in and select whichever picture they like the best.
This is all work in progress by the way (as of December 2014).
One problem is that we have is that the command for extracting JPGs is really slow. So slow that we can't wrap the subprocess in a Django database connection because it's so slow that the database connection is often killed.
The command to extract them looks something like this:
ffmpeg -i https://cdnexample.com/url/to/file.mp4 -r 0.0143 /tmp/screencaps-%02d.jpg
Where the number r is based on the duration and how many pictures we want out. E.g. 0.0143 = 15 * 1049 where 15 is how many JPGs we want and 1049 is a duration of 17 minutes and 29 seconds.
The script I used first was: ffmpeg1.sh
My first experiment was to try to extract one picture at a time, hoping that way, internally, ffmpeg might be able to optimize something.
The second script I used was: ffmpeg2.sh
The third alternative was to try ffmpegthumbnailer which is an intricate wrapper on ffmpeg and it has the benefit that you can produce slightly higher picture quality too.
The third script I used was: ffmpeg3.sh
And running these three depend very much on the state of my DSL at the time.
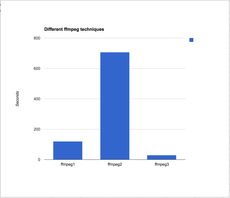
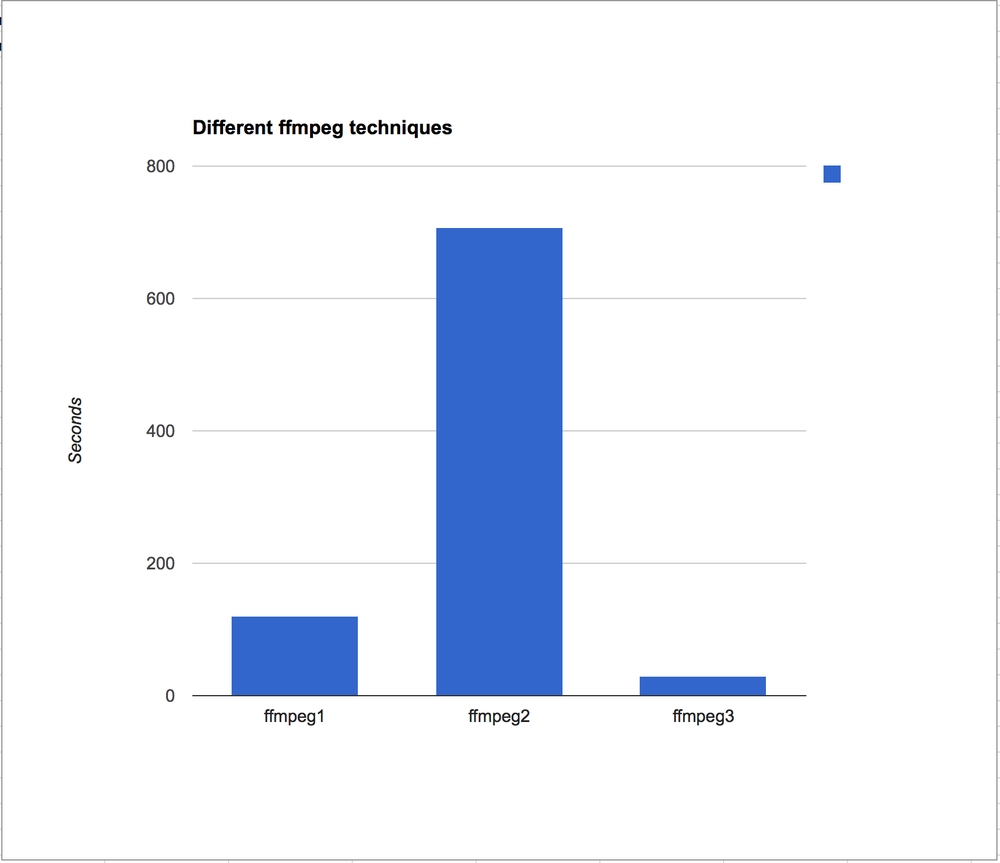
For a video clip that is 17 minutes long and a 138Mb mp4 file.
ffmpeg1.sh   2m0.847s
ffmpeg2.sh   11m46.734s
ffmpeg3.sh   0m29.780s
Clearly it's not efficient to do one screenshot at a time.
Because with ffmpegthumbnailer you can tell it not to reduce the picture quality the total weight of the produced JPGs from ffmpeg1.sh was 784Kb and the total weight from ffmpeg3.sh was 1.5Mb.
Just to try again, I ran a similar experiment with a 35 minutes long and 890Mb mp4 file. And this time I didn't bother with ffmpeg2.sh. The results were:
ffmpeg1.sh   18m21.330s
ffmpeg3.sh   2m48.656s
So that means that using ffmpegthumbnailer is about 5 times faster than ffmpeg. Huge difference!
And now, a curveball!
The reason for doing ffmpeg -i https://... was so that we don't have to first download the whole beast and run the command on a local file. However, in light of how so much longer this takes and my disdain to have to install and depend on a new tool (ffmpegthumbnailer) across all servers. Why not download the whole file and run the ffmpeg command locally.
So I download the file and it's slow because of my, currently, terrible home DSL. Then I run and time them again but just a local file instead:
ffmpeg1.sh   0m20.426s
ffmpeg3.sh   0m0.635s
Did you see that!? That's an insane difference. Clearly doing this command over HTTP(S) is a bad idea. It'll be worth downloading it first.
UPDATE
On Stackoverflow, LordNeckBeard gave a great tip of using the -ss option before in the input file and now it's much faster. At this point. I'm no longer interested in having to bother with ffmpegthumbnailer.
Let's fork ffmpeg2.sh into two versions.
ffmpeg2.1.sh same as ffmpeg2.sh but a downloaded file instead of a remote HTTPS URL.
ffmpeg2.2.sh as ffmpeg2.1.sh except we put the -ss HH:MM:SS before the input file.
Now, let's run them again on the 138Mb file:
# the 138Mb mp4.mp4 file
ffmpeg2.1.sh   2m10.898s
ffmpeg2.2.sh   0m0.672s
187 times faster
And again, I re-ran this again against a bigger file that is 1.4Gb:
# the 1.4Gb mp4-1.44Gb.mp4 file
ffmpeg2.1.sh   10m1.143s
ffmpeg2.2.sh   0m1.428s
420 times faster
